The NavVis VLX is no ordinary indoor scanner.
It's the world's most accurate wearable mapping device with simultaneous mapping and localization (SLAM) technology. Fast, precise, and compact, it allows operators to efficiently capture as-built indoor data for visualization in the AEC industry and elsewhere.
The job of developing such a revolutionary piece of hardware fell to NavVis industrial designers Sarah Godoj and Nils Christensen. To achieve this formidable task, they leveraged the power of rapid prototyping to test and perfect the design.
The result? The ideal balance of device accuracy, accessibility, and ergonomics – validated using Ultimaker 3D printers.
"It's a marvelous feat of engineering from our team," said Nils. "You can go hiking with NavVis VLX if you want."
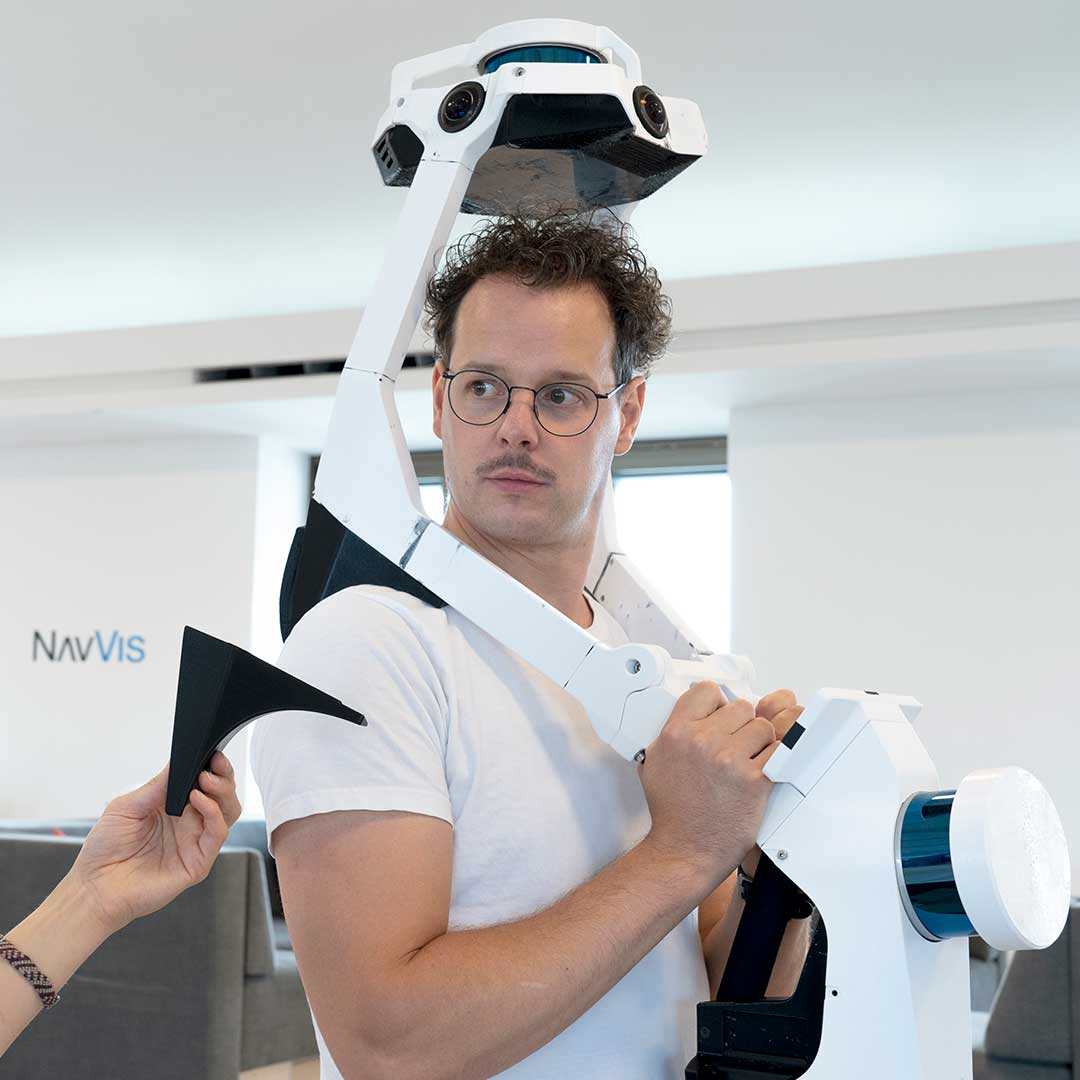
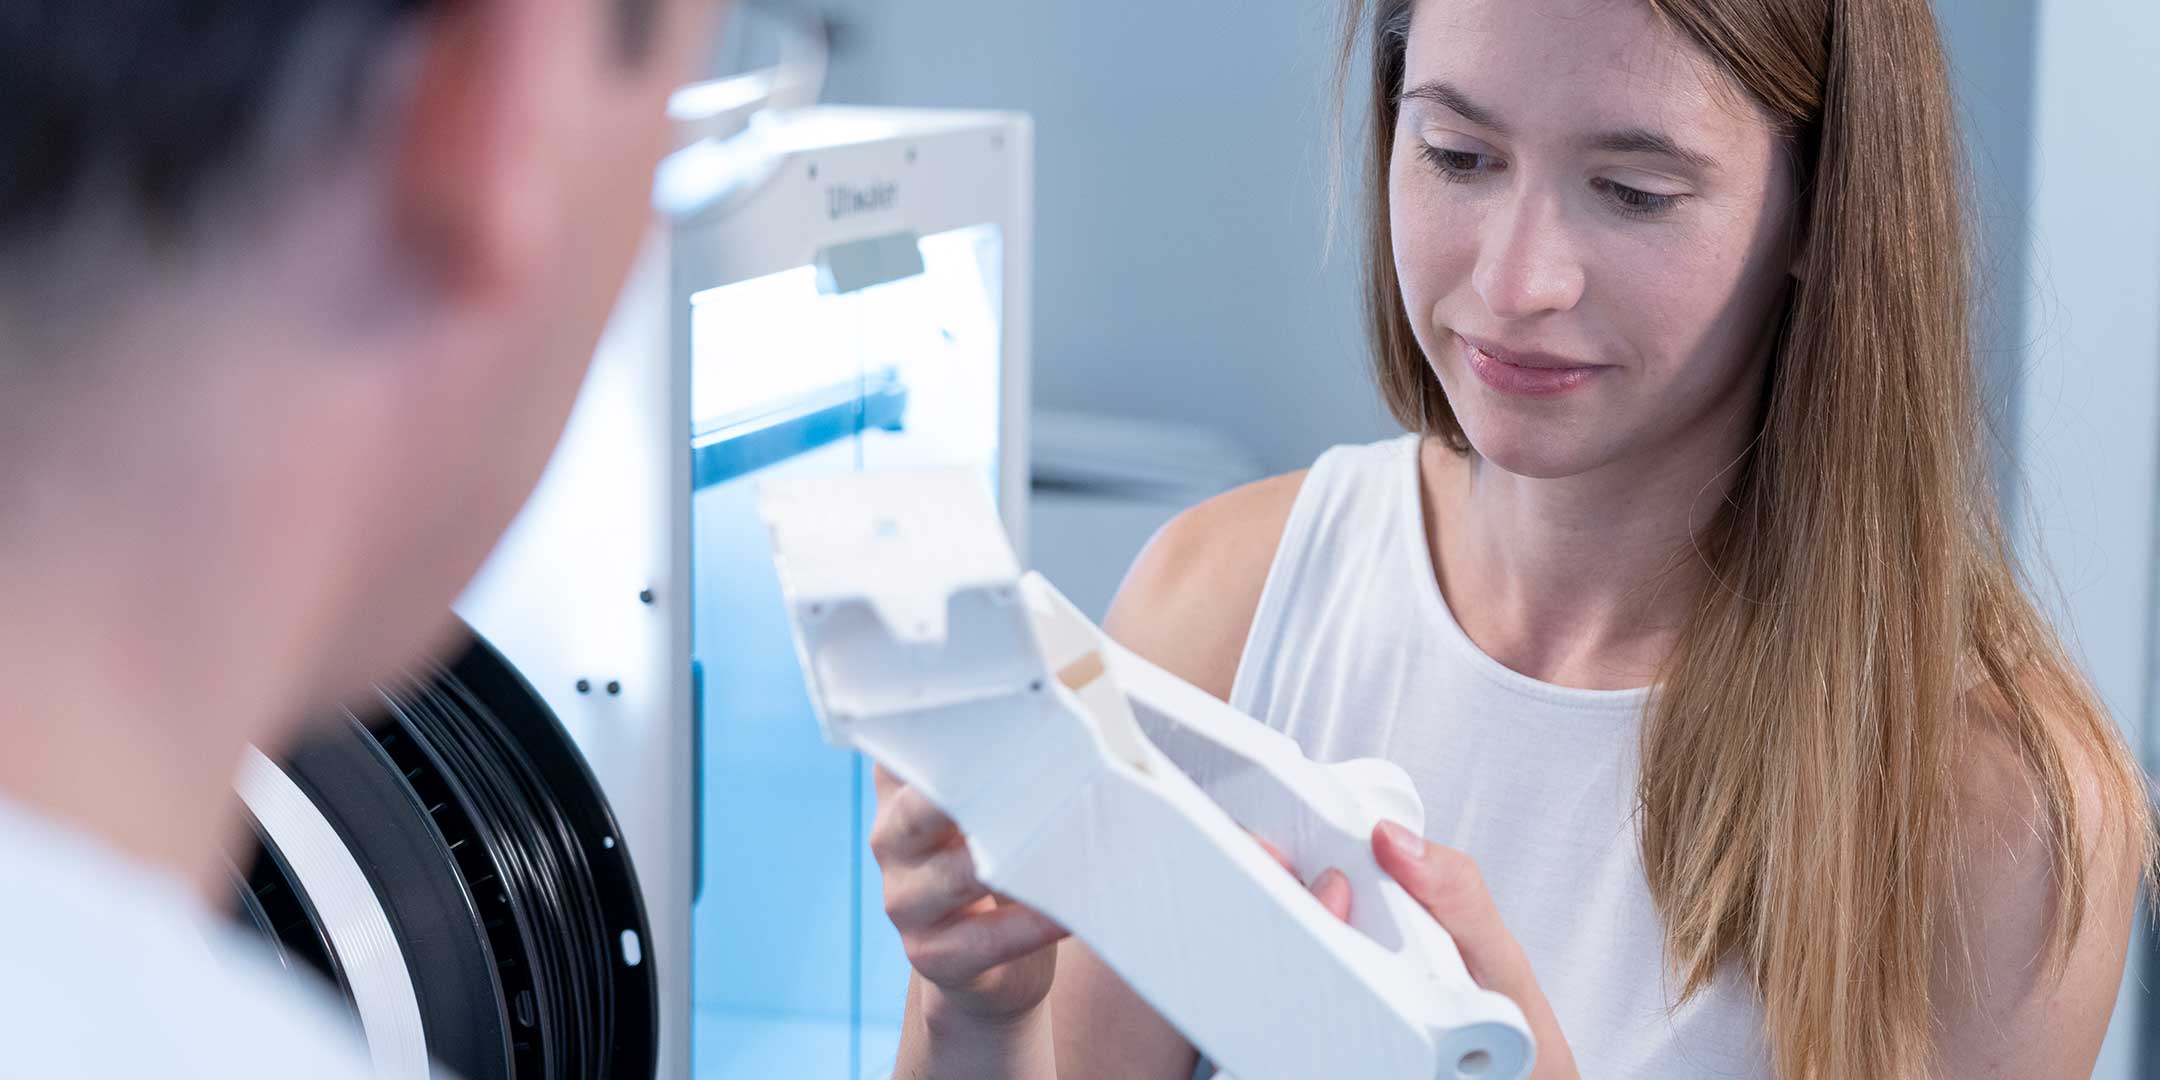
Nils Christensen 3D printed many shoulder pad iterations to ensure that the NavVis VLX was comfortable
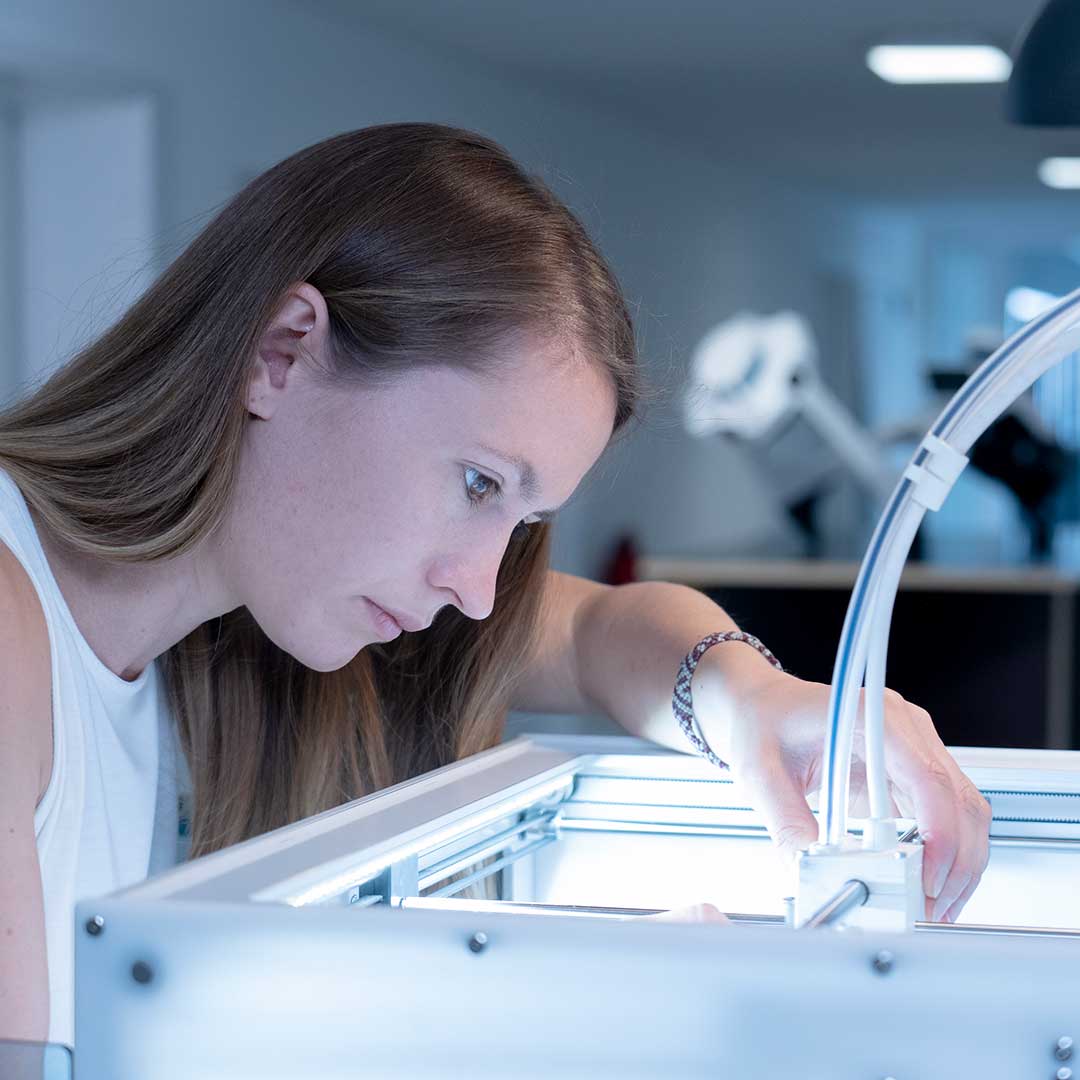
For Sarah Godoj, fast development cycles with 3D printing were key to launching the NavVis VLX on time
Sensors first
Headquartered in Munich, Germany, NavVis specializes in developing next-generation technology that enables accurate mapping of indoor spaces. And given that the wearable NavVis VLX system's accuracy had to compete with terrestrial solutions, the scanner’s sensor positioning would be the designers' top priority.
After many iterations, the team zeroed in on an innovative design that combines two multi-layer LiDAR sensors with four high-res cameras. Together, they measure and map a 360-degree view of the indoor space – mounted at the perfect distance above the operator's head to keep the operator out of the field of view while allowing the user to see everything in the environment.
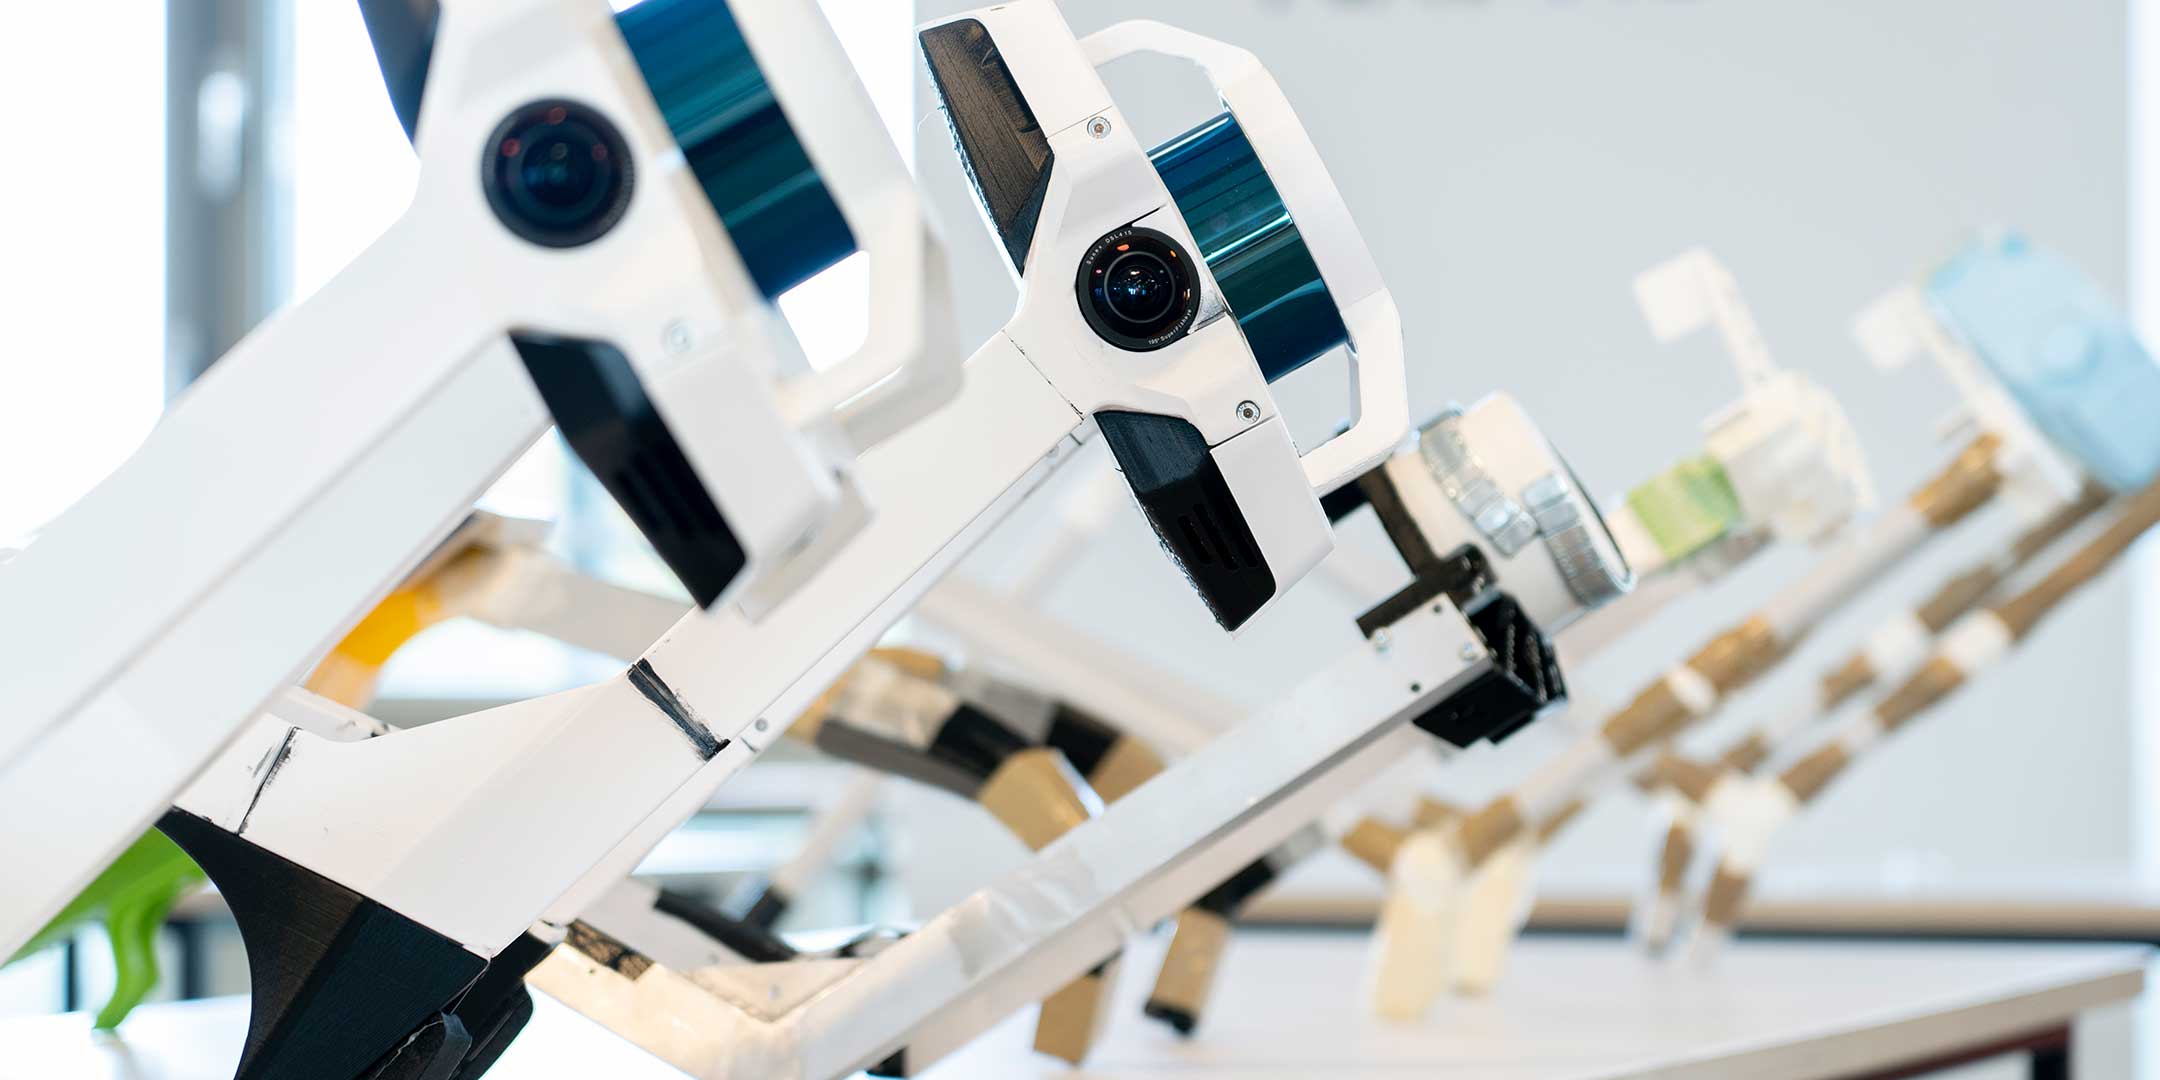
With their Ultimakers running day and night, the designers quickly validated designs by connecting PVC tubing to accurately 3D printed angle pieces
But soon after deciding the basic concept, the designers realized that they also wanted to set NavVis VLX apart from other wearable scanners and require nothing to be worn on the users' back. This was to avoid bumping into anything when the user turned in tight spaces.
Sarah explained, "We used alternatives, like wood and cardboard, but closer to the final design, we didn't consider anything else, because there was no better alternative than 3D printing."
Everything in easy reach
This led to a uniquely complicated challenge to keep every user interaction accessible. The touchscreen in particular required a lot of iteration. It had to be in the field of view, but still allow the user to see the floor to find ground control points and avoid hazards.
With so many variables to find the best display angle and positioning, the team once again turned to 3D printing to validate their ideas in more accurate detail.
Joining PVC pipes with 3D printed angles allowed them to test configurations as quickly as possible. The PVC pipes could be easily cut to any length, leaving just the connecting angles to be 3D printed.
“We wanted to have precise angles to really prove the CAD,” said Nils. “This meant it was the perfect mixture of rapid prototyping and real precision.”
With this technique, the team also became well-acquainted with the dimensional accuracy of their in-house Ultimaker 3D printers. Although all 3D prints shrink a small amount as the material cools, they worked out the shrinkage by printing multiple connectors with 0.1 mm difference between each version.
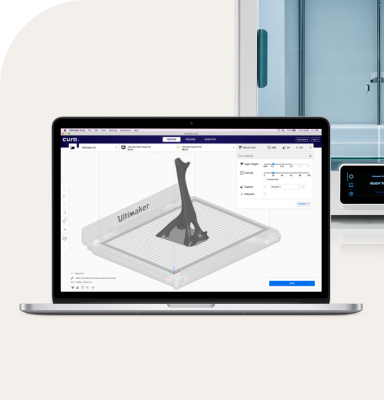
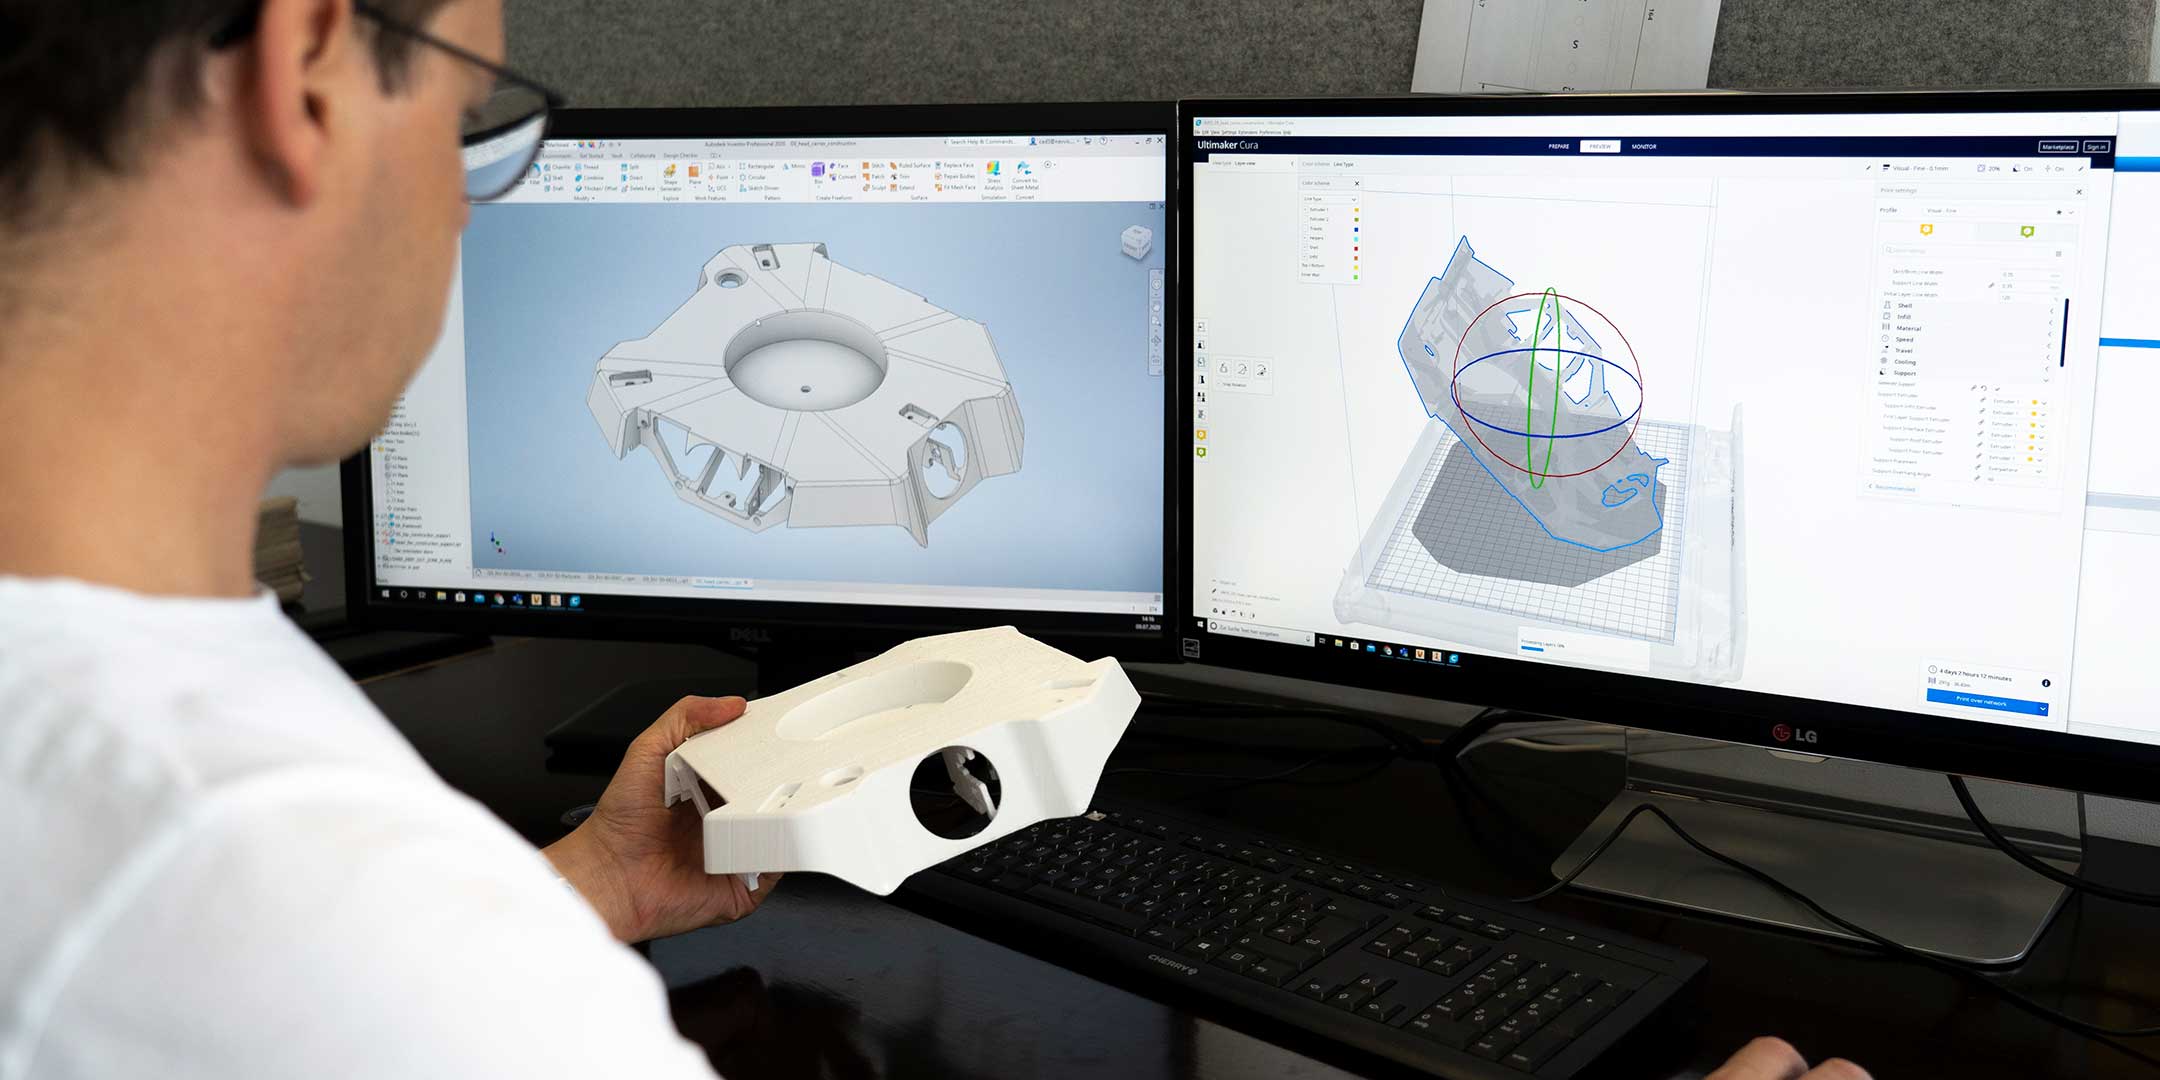
Using Ultimaker Cura settings, the designers increased the detail of their prints as they refined their CAD designs
Designed to fit any body
“Creating a device that fits the human body brings a lot of challenges." explained Sarah. "But with 3D printing, we could make lots of iterations to get to a good combination of the right size and weight.”
The team's goal was to create an ergonomic experience that would feel like the user was wearing a backpack on their chest. They loaded filled water bottles onto rough wooden and 3D printed shapes to simulate that weight. If any test user found it uncomfortable, Sarah and Nils knew that they needed to make an adjustment.
This was especially necessary for the shoulder pads. To find the optimal design, the team adjusted settings in Ultimaker Cura to create fast "draft" prints, before progressing to detailed prints. This approach ensured the pads would be comfortable for anyone – without the chance of NavVis VLX sliding off.
The wearable scanner presented so many ergonomic design challenges that 3D printing became their go-to prototyping technology
Another ergonomic challenge was the device's secure storage in a transport case that a single user could carry and quickly set up on site. For this, a folding mechanism would be required. But where should NavVis VLX safely fold to result in the smallest volume?
Again, the industrial designers used 3D printing to verify the CAD model. They left holes in the arms and temporarily secured them with a long screw inserted into the 3D print.
Rapid prototyping during a pandemic
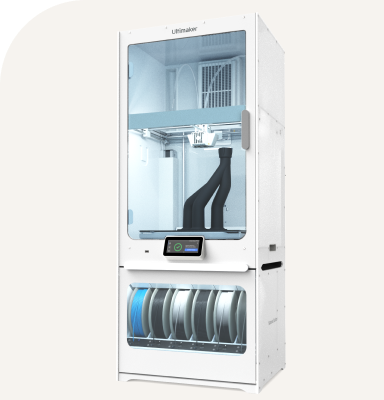
To create these fast iterations, the team relied on the workhorse output of the Ultimaker 2+ and Ultimaker S5.
Thanks to the printers' reliability, Sarah and Nils developed a 24-hour iteration cadence that allowed them to test new ideas as quickly as possible:
You could just hit "print" on Friday and go home for the weekend and come back on Monday and it was finished.
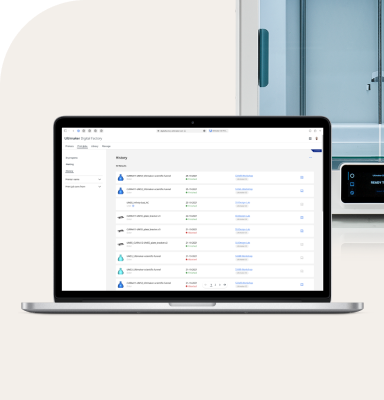
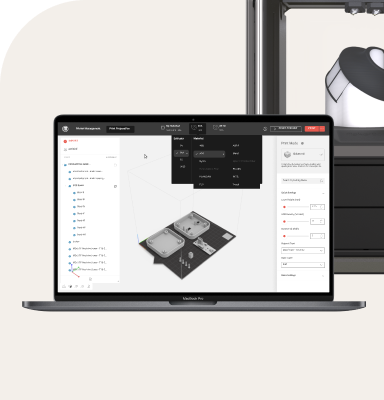
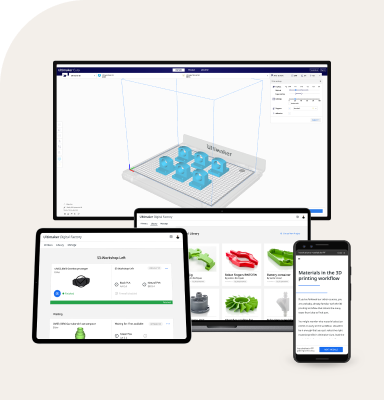
Of course, when COVID-19 forced most of the designers to work from home, their workflow had to change. For this, they depended on the remote 3D printing capability of the Ultimaker S5 and Ultimaker Digital Factory.
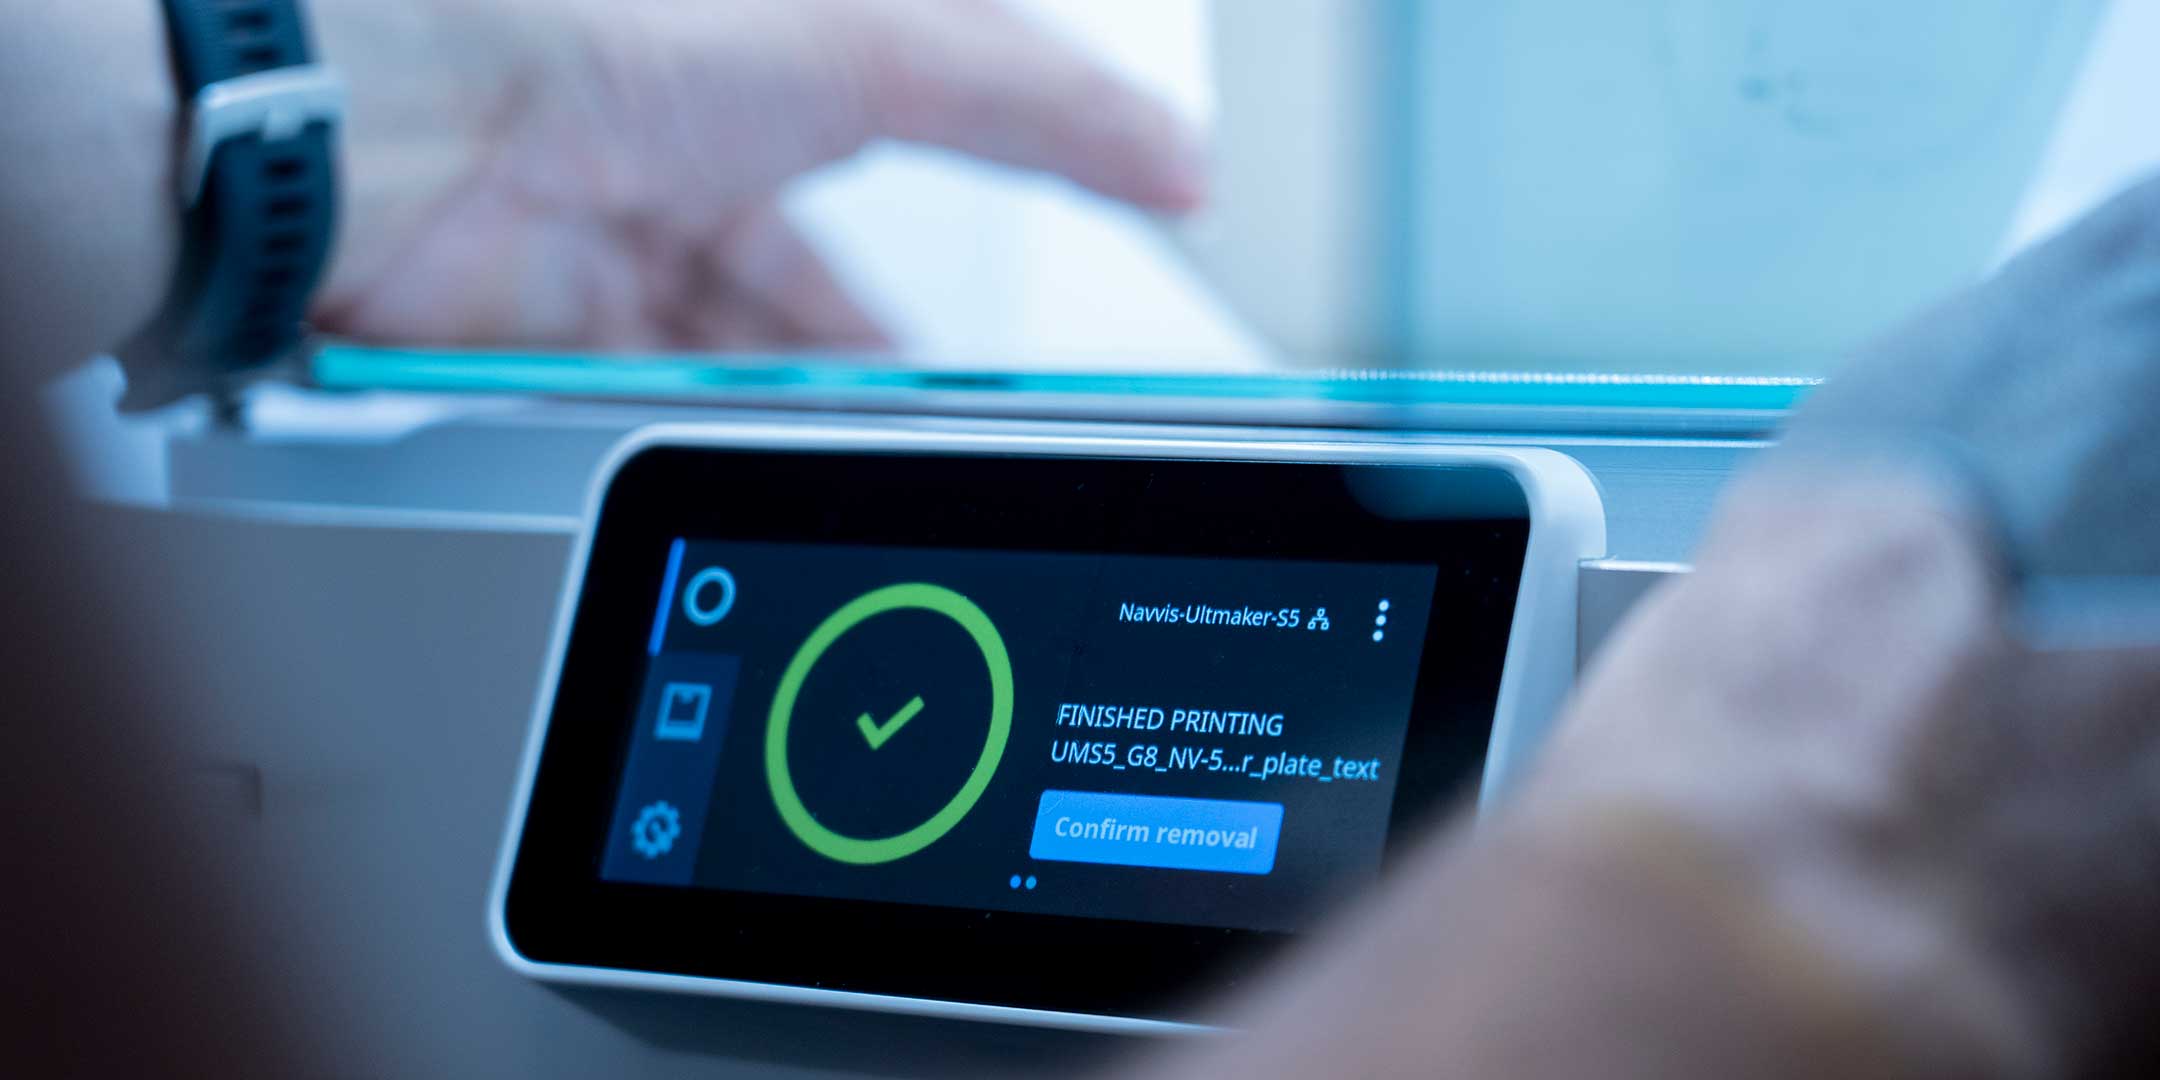
Despite COVID-19 restrictions, remote printing and monitoring on the Ultimaker S5 meant rapid prototyping could continue without disruption
They were able to securely monitor their print jobs and simply ask someone at the office, "could you please remove the print and press 'confirm'?" To avoid needing to add new filament halfway through a print, they also set up a second webcam to monitor the spools. This way they could keep iterating regardless of pandemic restrictions.
Nils said, “We always thought that 3D printers are a bit complicated, but the Ultimaker was a nice easy-to-use solution. It always explains the next step or what is happening right now.”
This ease of use meant that – even though their team consists of 15 designers and mechanical engineers – everyone is slicing parts to 3D print, and "no one is really afraid of touching the Ultimakers".
Continuous improvement
Because NavVis builds its scanners to order, the design team continues to iterate and improve their products using 3D printing. Nils revealed:
Every development step that we have mechanically, in 80% of the cases we 3D print first. Doing that instead of creating parts out of metal blocks with a lead time of up to five weeks. You can imagine it's quite a cost-saving.
Nils and Sarah continue to refine their 3D printing process. And thanks to Ultimaker's open filament system, they contribute to NavVis' sustainable goals by printing increasingly with recyclable materials.
In that way, they are helping NavVis build a better world – as well as better indoor scanners.
Inspired to learn more?
Discover how rapid prototyping with 3D printing can speed up your design cycles by downloading the white paper below – or check out our product development application page.


