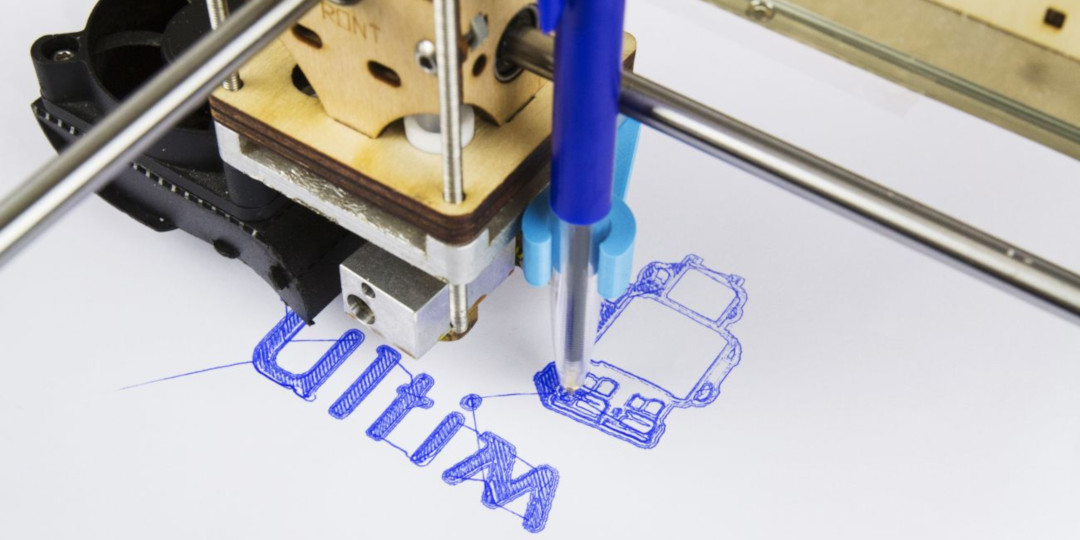
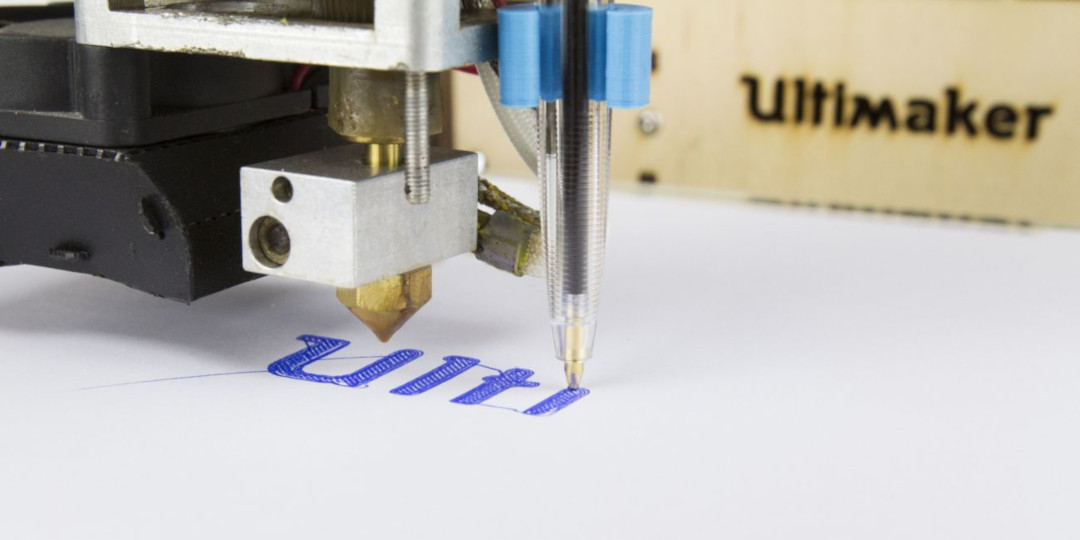
The purpose of having a 3D printer is to own a versatile machine that empowers you in the making. It would be silly to limit yourself to 3D only, while ‘back in the days’ we were so happy with 2D prints. Luckily we found James Campbell and he shared with us his hack on how to transform your Ultimaker in a 2D Pen Plotter. And now we want to share it with you!
You just print the arm on your Ultimaker that holds the pen and you have the only add-on you need to start plotting!
Simply mount the pen holder on your Ultimaker print head and select the 2D model that you want to draw.
Instructions
Pen holder
Download the STL file here and print it on your Ultimaker in your favorite color.
We recommend to use approximately 20% infill so it will be nice and strong.
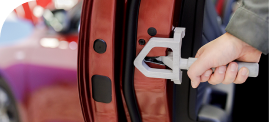
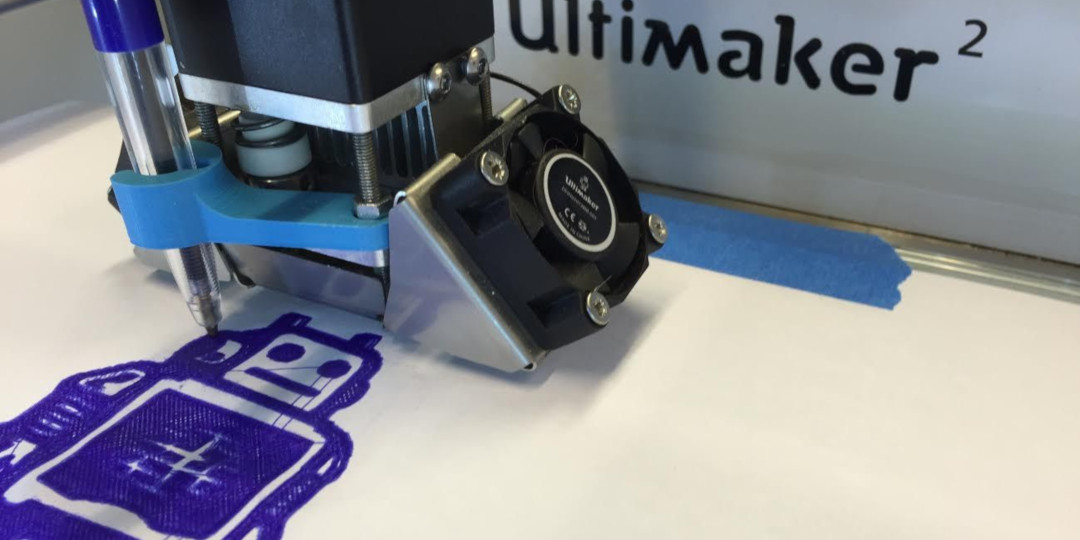
For the Ultimaker Original you screw it onto the back right main screw on the printhead, held in place with a nut. Put it tight against the metal plate on the bottom of the print head (not the heater block).
This is a great hack because it is compatible with both the Ultimaker Original and the Ultimaker 2.
In the head quarters we have already been busy making various drawings and we are curious to see what you will come up with! On the Ultimaker 2 there is room next to the right fan to mount the arm and secure it with a nut.
Make sure the plotter arm is held in tightly and doesn't move around when pushed. You need it to be secured or else it will drag along all over your paper.
Place a pen (preferably BIC) in the holder and align it so the pen tip is about .1mm lower than the print nozzle. Don't worry about the plate scratching, the plotter arm has been modified to bend slightly to keep pressure on higher layers.
Run a bed leveling test, the pen will trace its maximum effective plotting size and the pen should have a consistent line thickness.
Cura
Load the Cura .ini file which you've already downloaded previously.
Load a jpg file (PNG with transparent backgrounds don't work well).
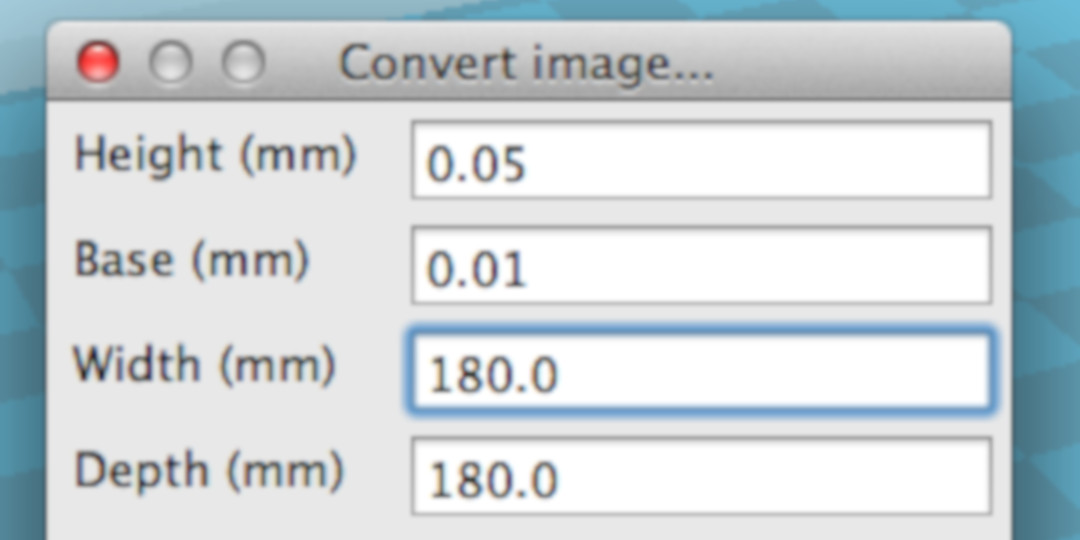
Set the image height to 0.05 total height.
Pro tip: Modifying the print nozzle size parameter determines the distance between pen lines.
NOTE: The .ini file will also modify the start Gcode and end Gcode used so it is advisable to make a backup profile if you have customized your print profile.
NOTE: You can flip the build plate around if you want to be extra precautious with the pen and your buildplate.
NOTE: When importing jpgs it's good to set the image size during import, modifying it after can cause errors in the printing.
Pen plotting
Load a jpg file into Cura.
During import, copy the values as shown in the image below:
Make sure the image size is smaller than the build volume during the importing.
3. Place a sheet of paper on the build plate and secure it painters/kapton tape on the corner and edges between the bed screws.
4. Save the Gcode to your SD or run it directly as you would for any other print.
Enjoy plotting and make sure to share your results with us!


